Facing Kitchen Sink Drain Flange Problem?
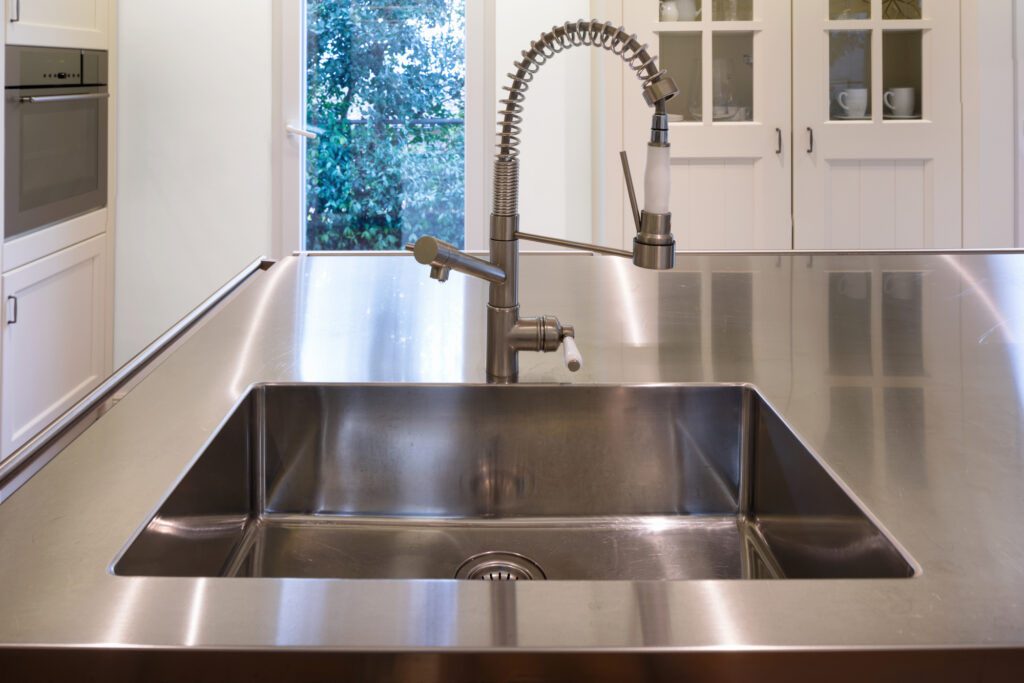
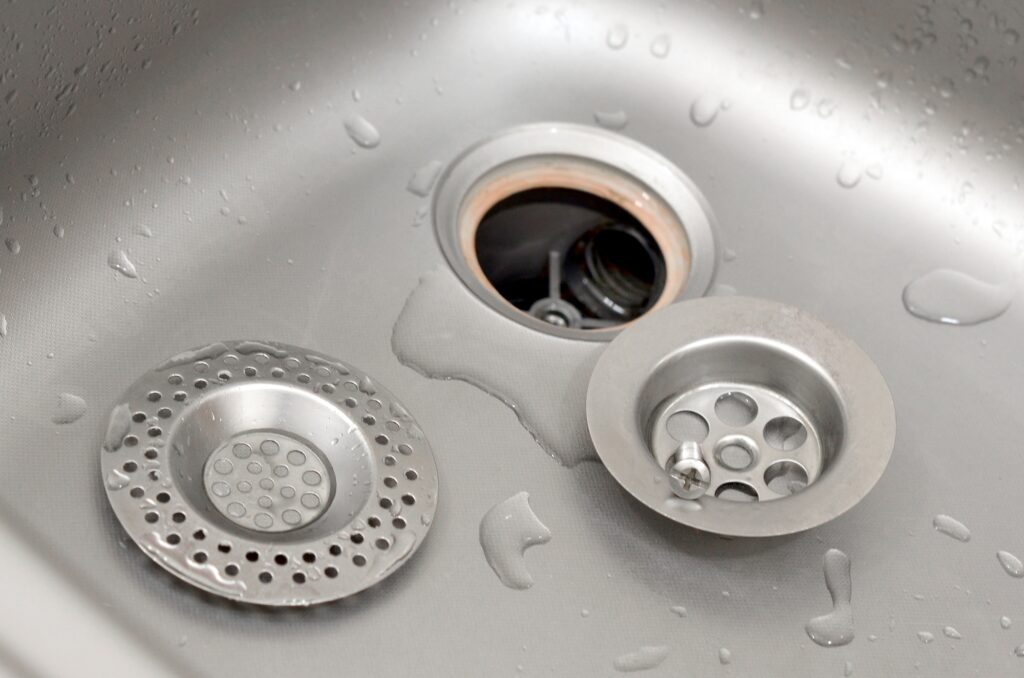
Look at your kitchen sink. Around your drain basket, you will see a seam known as the sink flange gasket. That’s a seal that keeps the sink and flange together and water where it should be.
When you attempt to remove a stuck kitchen sink drain flange, you’ll quickly find that the entire flange turns with the nut. That is most often due to rust or sediment that builds up on the threads between the actual flange and the retaining nut.
If you have a stuck kitchen drain flange, it can cause a couple of problems. It could cause a foul, or strange odor, or poor drainage could fill the sink to the point of overflowing, potentially causing severe damage to the surrounding area.
Causes of a Stuck Kitchen Sink Drain Flange
A clogged drain flange is a stuck drain flange. If this is your case, it’s usually an easy fix.
If the flange is simply stuck due to food particles or grease, you can clean it by scrubbing the area around the flange with a brush or cloth and some cleaning solution. You can also use a plunger to dislodge any stubborn buildup. However, if the flange is corroded or damaged, cleaning may not be enough, and you may need to replace it.
Sink Flange Gasket
Sometimes, some of us who have a garbage disposal can become lazy with what we’re putting down the sink drain. Certain things that are completely fine to put down a garbage disposal, will actually cause build-up and cause us to search for articles on how to remove a stuck kitchen sink drain flange.
Never put eggshells, coffee grounds, grease, or pain (among other things) down your drain line. These will make your flange behave like it was installed with permanent glue and make it lose its ability to support your water system fixtures.
This simple step could save you quite a hassle.
Even though food build-up can be the problem, the most common cause of your kitchen flange getting stuck is when it was originally installed, plumber’s putty hardened between the sink and the flange. This creates pressure that causes the flange to block the drain and create buildup.
Table of Contents

A Step By Step Guide: How to Remove A Stuck Kitchen Sink Drain Flange
Simply installing a new sink drain flange is a relatively straightforward process that doesn’t always require expertise, but it does require removing the kitchen sink drain basket. There will sometimes be a rust or sediment seal around some of the nuts, making the process difficult and frustrating.
Having the right tools before you begin the undertaking will simplify the process greatly. Thankfully, this isn’t a job that requires heavy machinery.
Tools and Materials Required
- Putty Knife
- Utility Knife
- Needle Nose Pliers
- Penetrating Lubricant
- Flathead Screwdriver
- Pipe Wrench
- Work Gloves
- Elbow Grease
Preparation for Removing the Stuck Kitchen Sink Drain Flange
Shut off the water supply
Simple? Yes. Necessary? Also yes. You will not want water going everywhere while you’re trying to work. You’re working directly with the drain opening, so make sure the water is shut off.
Clear the area under the sink
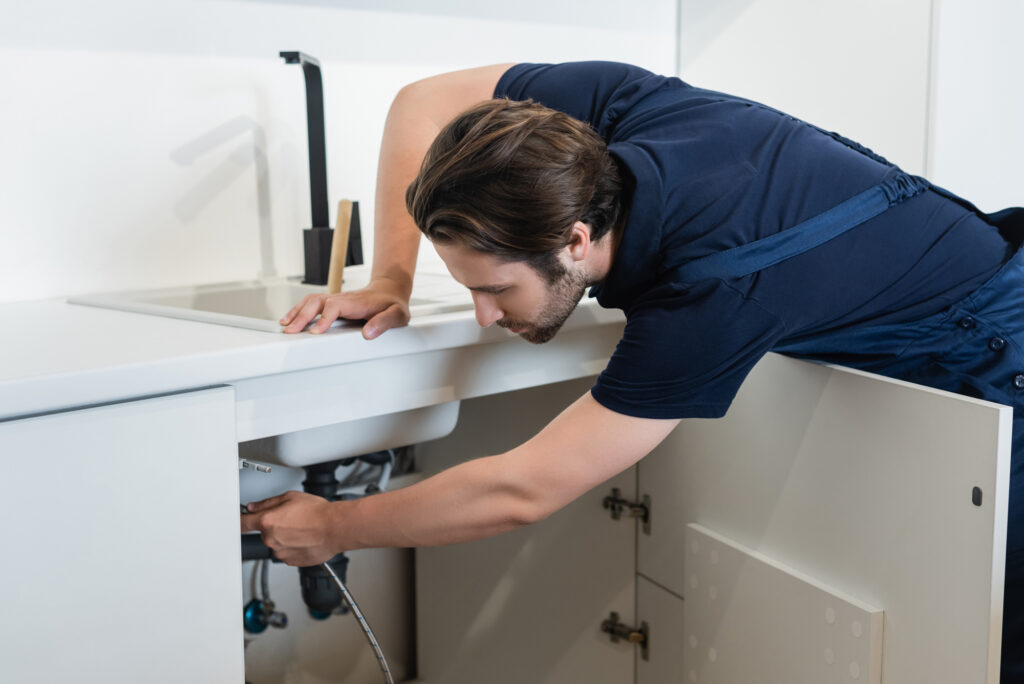
Having a clear space to work is very important. Make sure the area beneath the sink is cleared of supplies, dishes, and anything else you may store in that kitchen cabinet.
Remove the drain stopper and clean the drain
Set the drain stopper aside.
Why do we need to clean the drain before the installation of a sink flange? You can boil it down to the need for the new flange to fit nicely into the sink opening. You will likely find a buildup of food debris or soap scum that will need to be removed.
This step can also help prevent future flange blockages before they’re a problem.
Steps to Remove the Stuck Kitchen Sink Drain Flange
Apply Penetrating Oil to the Threads
Apply lubricant directly onto the threads that are between the securing nut and the drain flange. Using a penetrating lubricant on the threads will help loosen up the parts and make them easier to work with.
Remove the Flange
The coupling nut is a large ring-shaped nut that joins the flange basket to the drain pipe. Grasp it firmly with a set of pliers and turn counterclockwise to loosen it. If it doesn’t budge, try turning in the other direction until any rust buildup has loosened.
Once that’s done, turn the locknut counterclockwise until it comes free. Be sure to have the flange secure when doing this otherwise it could spin and cause damage. You can secure it by placing the pliers handles between two opposite holes in the drain cross piece and putting a rigid tool between the handles. You may need a second person to keep the flange from spinning by using the screwdriver as a handle while you turn the coupling nut beneath the sink counterclockwise. You could use channel locks on step if you have them handy. If not, another tool will do just as well.
Now, you can remove the old flange. You may need to use your utility knife or your putty knife to chip away any remaining plumbers putty. Just hold the flange secure until it’s gone then gently pry upward against the sink until it comes loose.
Clean the threads and the drain
Remove any remaining plumbers putty then use a clean cloth to wipe away loose debris. Apply a mild cleaning solution and leave it for a few minutes, or until any sediment breaks up. Scrub, rinse, and dry the threads, then check and see if there’s any leftover debris.
Installing the New Flange
Apply plumber’s putty to the new flange
Apply the putty, not liquid nails, to the outside of the sink flange by following the manufacturer’s instructions.
Install the new flange
Insert the new flange into the sink bowl and make sure it’s level and fits securely.
Tighten the mounting screws, but use discernment. Overtightening these screws can cause damage if you go too far.
Install the drain assembly and attach it to the new sink flange.

Connect the new flange to the drain pipe
Connecting the flange to the plumbing system is a simple step. Connect the tailpiece of the flange with the P-trap with a washer and slip nut. Make sure it’s secure, then connect the other side of the P-trap with the drain system.
Testing the Kitchen Sink Drain
Turn on the water supply
Turning on the water system will quickly reveal any leaks or issues with the installation.
Test the drain by running water
If your drain line is working properly, there should be no excessive water pooling in the sink.
Inspect for any leaks
It’s easy for water to seep beneath items or cabinets unseen, so monitor the sink for a while. Your initial inspection is a good step, but check back every now and again to make sure you didn’t miss a slow leak.
Professional Help
Keep in mind that there are many drain flange types. This article does not discuss all kinds of drain flanges. A bathroom flange, whether that’s your toilet flange (the closet flange, for example, is the one where the toilet connects to the drain pipes) or the one in the bathroom sink is its own matter. Those situations have similarities but should be addressed on their own.
If you are not comfortable taking these steps on your own, contact a professional plumber. They will know how to confidently remove a stuck drain flange from your kitchen drain or bathroom without causing a water leak.

